
VPT
Stepwise Chairside vital pulp therapy technique
A controlled sequence for case selection, asepsis, haemostasis, pulp protection, and definitive sealing.
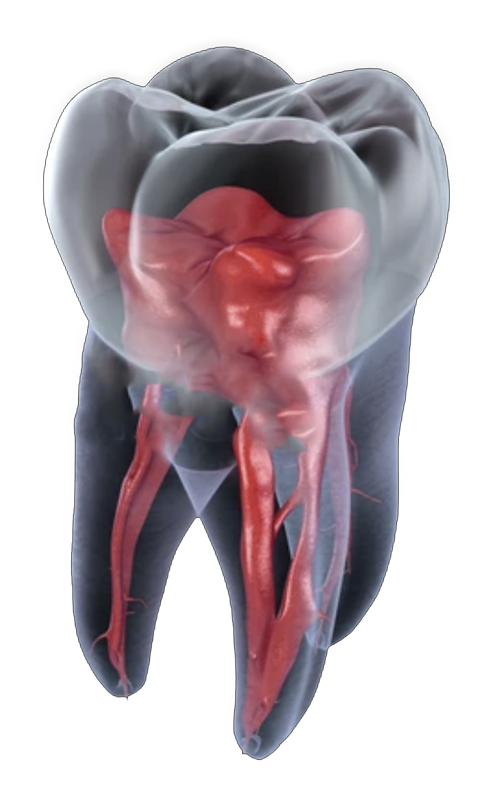
Clinical frame
Preserve vitality by controlling every decision around the pulp.
Vital pulp therapy is not one material or one moment. It is a sequence: select the case, establish asepsis, assess the exposed tissue, control bleeding, place a calcium-silicate cement, and protect the result with a durable coronal seal.
This stepwise guide is designed as a clinician discussion aid for permanent teeth. Diagnosis, case selection, and treatment remain the treating clinician's responsibility.
Select
Choose the caries route before you pick up the bur.
Deep caries + normal/reversible response
With a radiographically distinct dentine barrier, selective caries removal may avoid pulp exposure while preserving a sound peripheral seal.
Extremely deep / symptomatic caries
Where the pulp is vital and bleeding can be controlled, complete excavation permits direct tissue assessment and may lead to full pulpotomy.
Stop or refer if the tooth is non-restorable, vitality is doubtful, necrosis or purulence is present, significant apical pathosis is seen, or reliable rubber-dam isolation cannot be achieved.
Perform
Keep the clean phase clean.
Isolate + disinfect
Achieve profound anaesthesia, secure rubber dam before caries removal, and disinfect the isolated crown, clamp, and adjacent dam.
Remove caries
Work through the infected phase and establish sound peripheral margins using the caries route selected for the case.
Enter the clean pulp phase
Change to new sterile burs and sterile coolant before entering the pulp wound. Inspect the tissue under magnification.
Haemostasis pathway
Use two-minute checkpoints to inspect, not simply wait.
Place a sterile cotton pellet lightly moistened with 1-2% NaOCl directly over the wound. Use gentle pressure.
Remove and inspect. If bleeding remains brisk, resect a further 1-2 mm with a new sterile bur and coolant, then place a fresh pellet.
If needed, repeat once more after reassessment and further tissue removal. Treat this as the final two-minute checkpoint.
At every checkpoint: remove the pellet, inspect under magnification, and reassess the tissue and bleeding. If control is not achieved after full pulpotomy, or necrosis or purulence is seen, stop VPT and reassess the treatment plan.
Protect
Finish the biological job.
Pulp material
Place a validated hydraulic calcium-silicate cement directly over the clean pulp wound, typically 1-3 mm thick, following the product IFU.
Definitive restoration
Protect the cement with compatible materials and create a well-sealed definitive restoration, preferably at the same visit.
Follow-up
Review clinically at six months, clinically and radiographically at 12 months, then yearly when indicated for up to four years.
Chairside download
Take the full three-page protocol into the surgery.
The downloadable guide includes the case-selection framework, operative phases, two-minute haemostasis pathway, finishing steps, chairside checklist, and source notes.